

TensorFlow is a multipurpose machine learning framework. TensorFlow can be used anywhere from training huge models across clusters in the cloud, to running models locally on an embedded system like your phone.
This codelab uses TensorFlow Lite to run an image recognition model on an Android device.
What you'll learn
- How to convert your model using the TFLite converter.
- How to run it using the TFLite interpreter in an Android app.
- How to use TensorFlow Lite Support Library to preprocess model input and postprocess model output.
- How to use GPU on your phone to accelerate your model.
What you will build
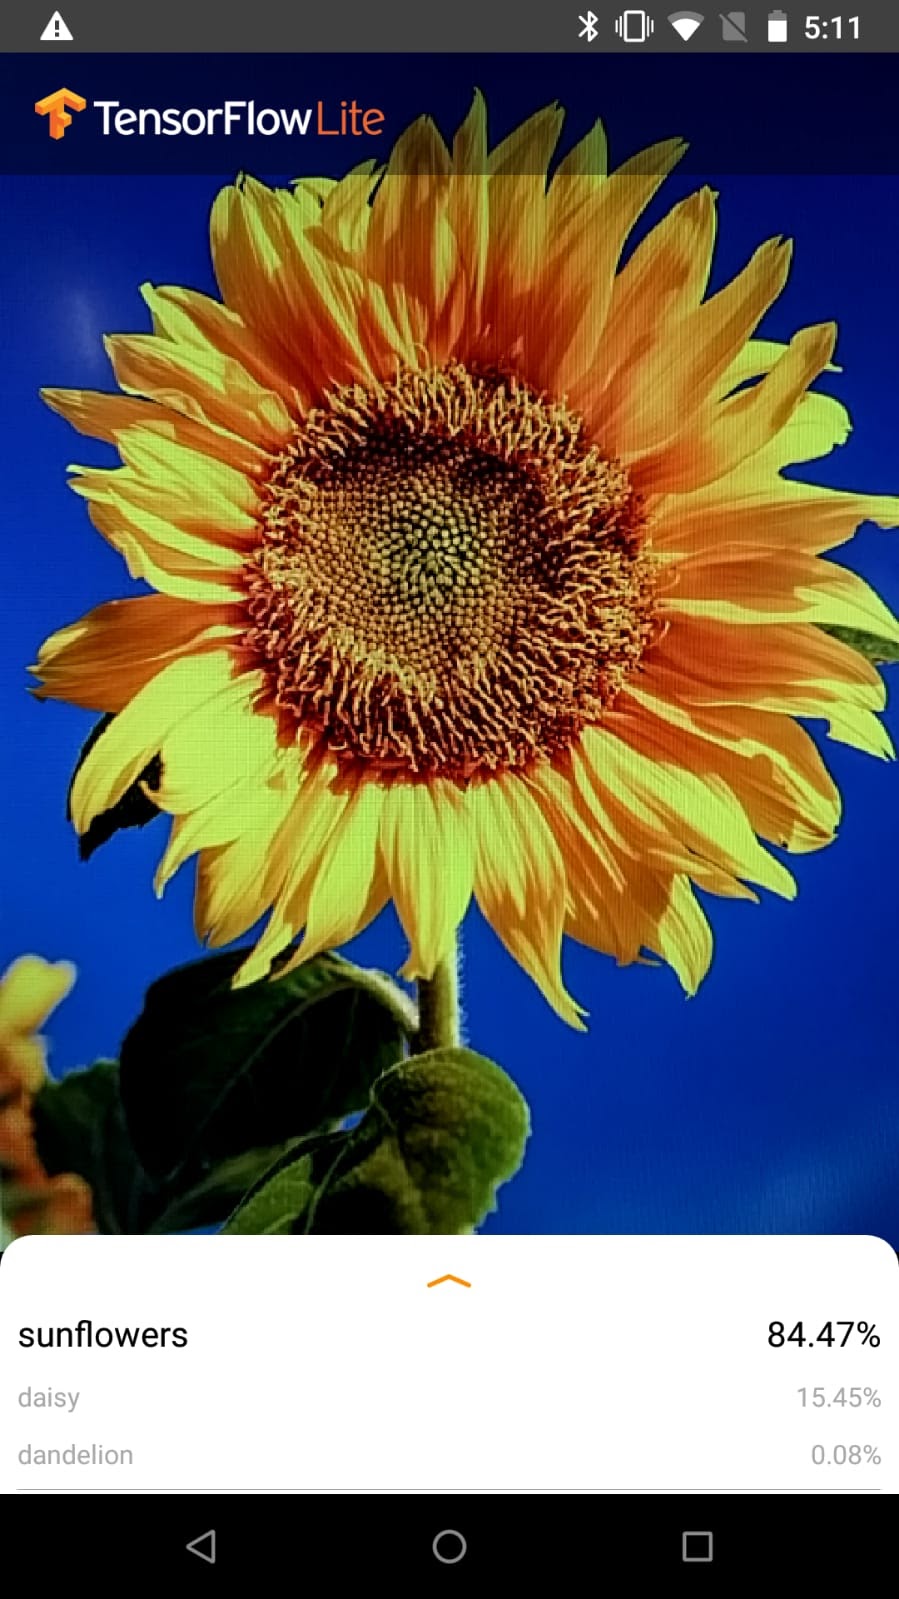
A simple camera app that runs a TensorFlow image recognition program to identify flowers.
License: Free to use
This codelab will be using Colaboratory and Android Studio.
Open the Colab which shows how to train a classifier with Keras to recognize flowers using transfer learning, convert the classifier to TFLite and download the converted classifier to be used in the mobile app.
Clone the Git repository
The following command will clone the Git repository containing the files required for this codelab:
git clone https://github.com/tensorflow/examples.git
Next, go to the directory you just cloned the repository. This is where you will be working on for the rest of this codelab:
cd examples
Install Android Studio
If you don't have it installed already, go install AndroidStudio 3.0+.
Open the project with Android Studio
Open a project with Android Studio by taking the following steps:
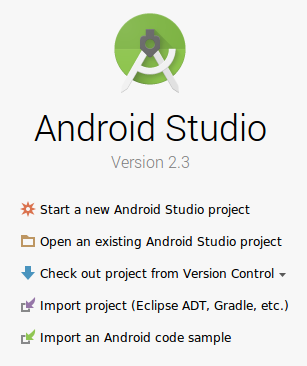
- Open Android Studio
 . After it loads select "
 Open an existing Android Studio project" from this popup:
- In the file selector, choose
examples/lite/codelabs/flower_classification/startfrom your working directory.
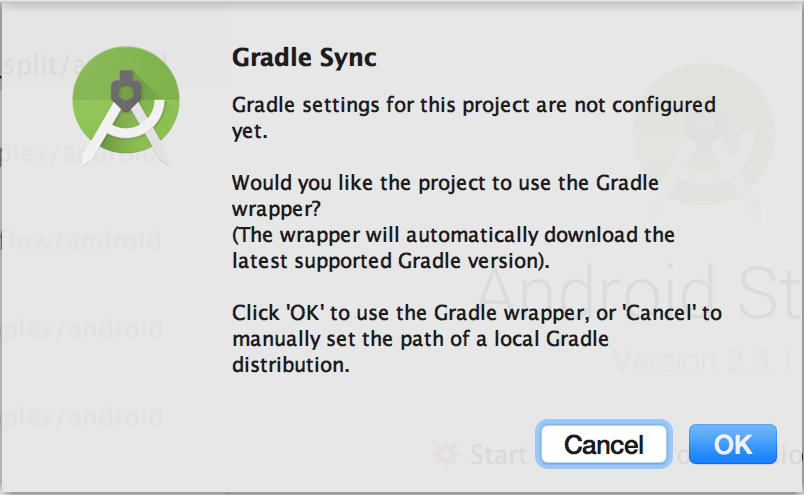
- You will get a "Gradle Sync" popup, the first time you open the project, asking about using gradle wrapper. Click "OK".
Add the TensorFlow Lite model to assets folder
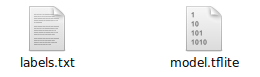
Copy the TensorFlow Lite model model.tflite and label.txt that you trained earlier to assets folder at lite/codelabs/flower_classification/start/app/src/main/assets/.
Update build.gradle
- Go to build.gradle of the app module and find this block.
dependencies {
    // TODO: Add TFLite dependencies
}- Add TensorFlow Lite to the app's dependencies.
implementation 'org.tensorflow:tensorflow-lite:0.0.0-nightly'
implementation 'org.tensorflow:tensorflow-lite-gpu:0.0.0-nightly'
implementation 'org.tensorflow:tensorflow-lite-support:0.0.0-nightly'- Then find this code block.
android {
  ...
  // TODO: Add an option to avoid compressing TF Lite model file
  ...
}- Add the following lines to this code block to prevent Android from compressing TensorFlow Lite model files when generating the app binary. You must add this option for the model to work.
aaptOptions {
  noCompress "tflite"
}- Click Sync Now to apply the changes.
- Open ClassifierFloatMobileNet.java, find this code block.
public class ClassifierFloatMobileNet extends Classifier {
  ...
  // TODO: Specify model.tflite as the model file and labels.txt as the label file
  ...
}- Add model.tflite and label.txt that are to be used for inference.
@Override
protected String getModelPath() {
  return "model.tflite";
}

@Override
protected String getLabelPath() {
  return "labels.txt";
}- Open Classifier.java (Classifier is the parent class of ClassifierFloatMobileNet). This is the main source file we will be working with. Find this code block.
public abstract class Classifier {
  ...
  // TODO: Declare a TFLite interpreter
  ...
}- Declare a TFLite interpreter in the Classifier class.
protected Interpreter tflite;- Next, find the Classifier class constructor.
protected Classifier(Activity activity, Device device, int numThreads) throws IOException {
  ...
  // TODO: Create a TFLite interpreter instance
  ...
}- Now, create an instance of the interpreter:
tflite = new Interpreter(tfliteModel, tfliteOptions);- We will save the part of actually running TensorFlow Lite inference to the next section. But as a good practice we want to close the interpreter after use. Find this code block:
public void close() {
    ...
    // TODO: Close the interpreter
    ...
}- Dispose of the interpreter instance by adding:
tflite.close();
tflite = null;
Our TensorFlow Lite interpreter is set up, so let's write code to recognize some flowers in the input image. Instead of writing many lines of code to handle images using ByteBuffers, TensorFlow Lite provides a convenient TensorFlow Lite Support Library to simplify image pre-processing. It also helps you process the output of TensorFlow Lite models, and make the TensorFlow Lite interpreter easier to use. At a high level, this is what we want to do:
- Pre-process the input: construct an ImageProcessor to resize and rotate the input images.
- Run inference with TensorFlow Lite.
- Post-processing the output: convert the probability array to a human-readable string using TensorLabel.
- Continue to work in the Classifier.java file. First, let's preprocess the images captured by the camera. Find the following code block.
private TensorImage loadImage(final Bitmap bitmap, int sensorOrientation) {
  ...
  // TODO: Define an ImageProcessor from TFLite Support Library to do preprocessing
  ...
}- We need to resize the input image to match with the input size of our TensorFlow Lite model, and then convert it to RGB format to feed to the model. By using the ImageProcessor from TensorFlow Lite Support Library, we can easily do image resizing and conversion. Add the following code.
ImageProcessor imageProcessor =
        new ImageProcessor.Builder()
            .add(new ResizeWithCropOrPadOp(cropSize, cropSize))
            .add(new ResizeOp(imageSizeX, imageSizeY, ResizeMethod.NEAREST_NEIGHBOR))
            .add(new Rot90Op(numRoration))
            .add(getPreprocessNormalizeOp())
            .build();
return imageProcessor.process(inputImageBuffer);- Now we can run inference with TensorFlow Lite interpreter. Find the following code block.
public List<Recognition> recognizeImage(final Bitmap bitmap, int sensorOrientation) {
  ...
  // TODO: Run TFLite inference
  ...
}- Next, run inference with the interpreter. We feed the preprocessed image to the TensorFlow Lite interpreter.
tflite.run(inputImageBuffer.getBuffer(), outputProbabilityBuffer.getBuffer().rewind());- Lastly, we can get the map of labels and their probabilities from the model output. Go to the following code block.
public List<Recognition> recognizeImage(final Bitmap bitmap, int sensorOrientation) {
  ...
  // TODO: Use TensorLabel from TFLite Support Library to associate the probabilities with category labels
  ...
}- Add the code below. labeledProbability is the object that maps each label to its probability. The TensorFlow Lite Support Library provides a convenient utility to convert from the model output to a human-readable probability map. We later use the getTopKProbability(..) method to extract the top-K most probable labels from labeledProbability.
Map<String, Float> labeledProbability =
   new TensorLabel(labels, probabilityProcessor.process(outputProbabilityBuffer))
       .getMapWithFloatValue();
The app can run on either a real Android device or in the Android Studio Emulator.
Set up an Android device
You can't load the app from Android Studio onto your phone unless you activate "developer mode" and "USB Debugging". This is a one time setup process.
Follow these instructions.
Or set up the emulator with camera access
Android studio makes setting up an emulator easy. Since this app uses the camera, you may want to setup the emulator's camera to use your computer's camera instead of the default test pattern.
To do this you need to create a new device in the "Android Virtual Device(AVD) Manager".
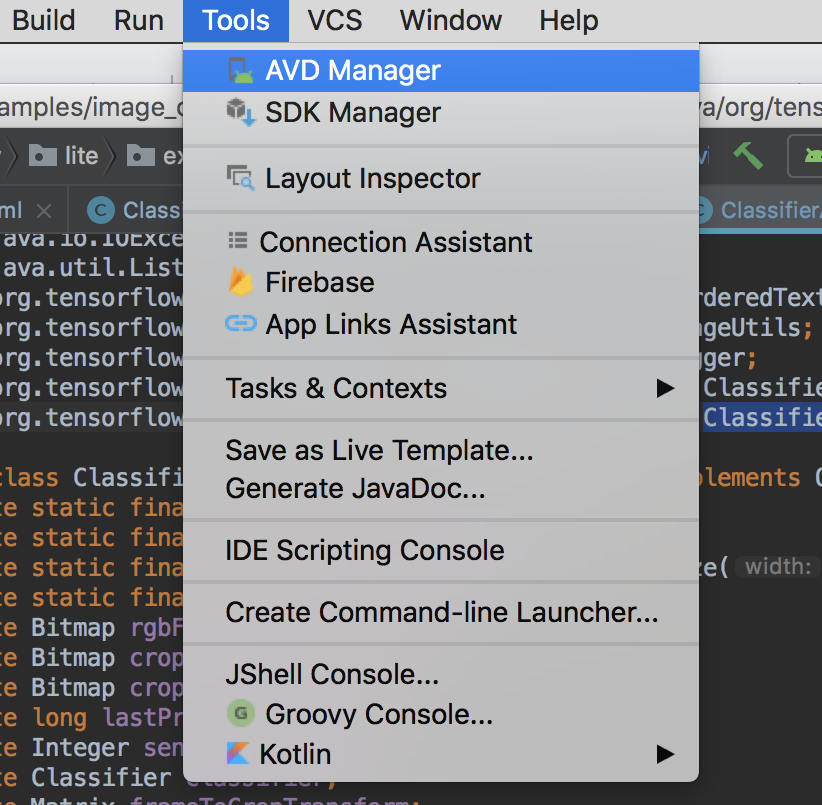
From the main ADVM page select "Create Virtual Device":
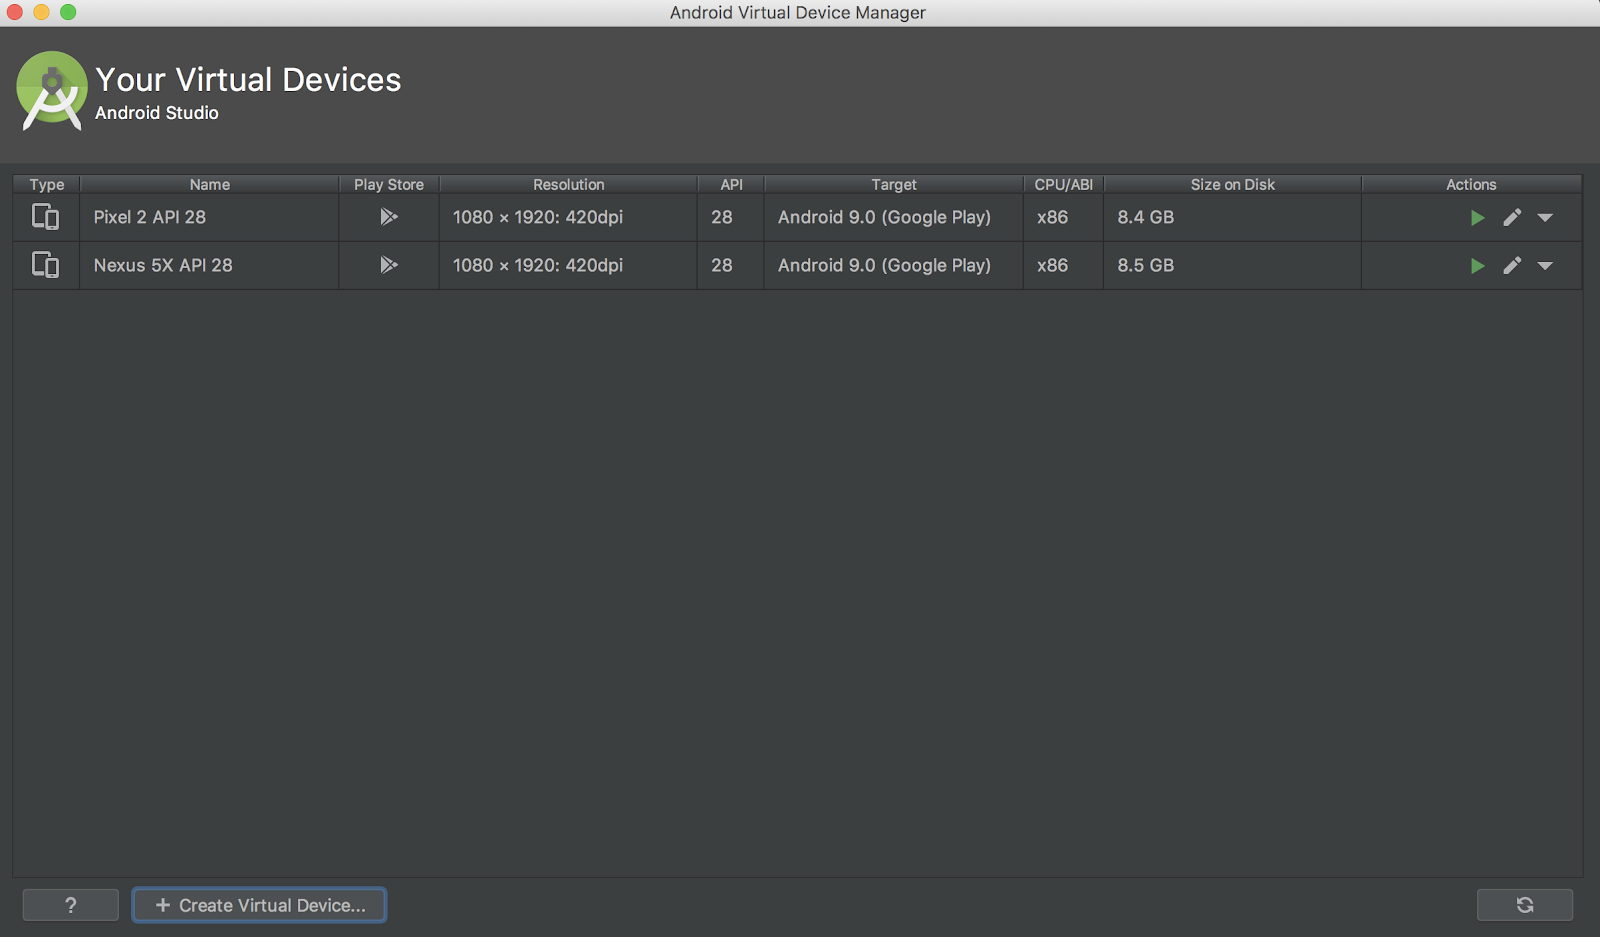
Then on the "Verify Configuration" page, the last page of the virtual device setup, select "Show Advanced Settings":
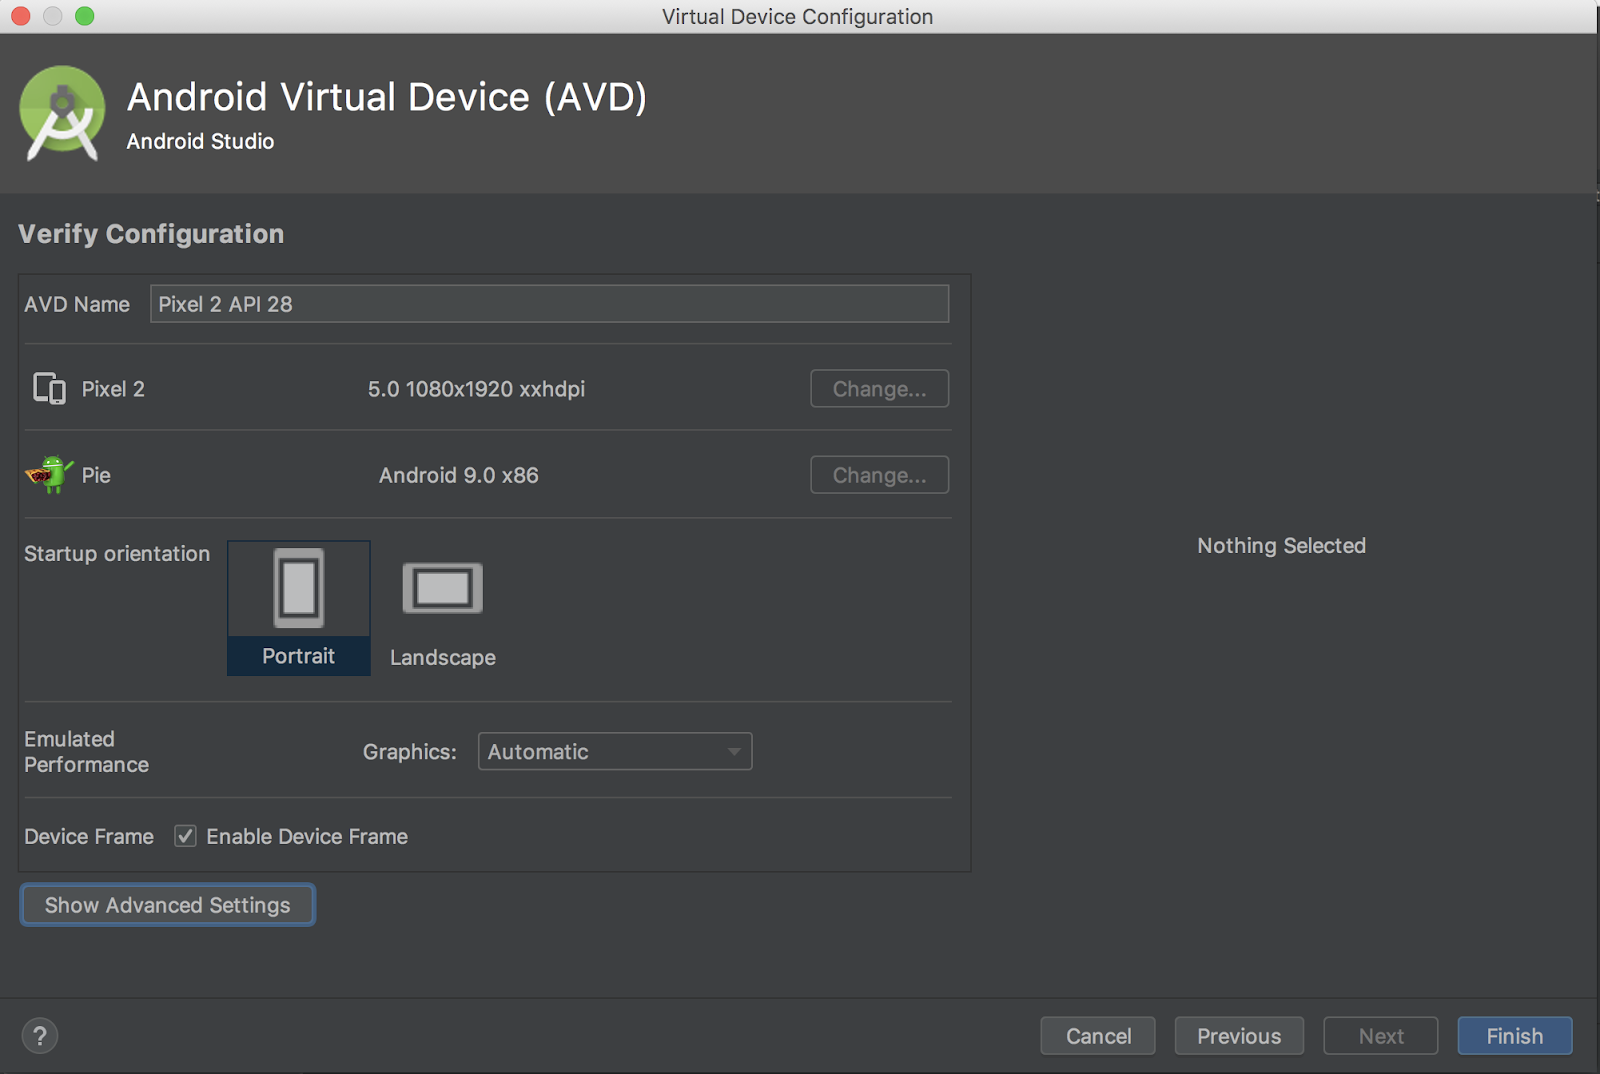
With the advanced settings shown, you can set both camera sources to use the host computer's webcam:

Test Build and install the app
Before making any changes to the app let's run the version that ships with the repository.
Run a Gradle sync,  , and then hit play,
  , in Android Studio to start the build and install process.
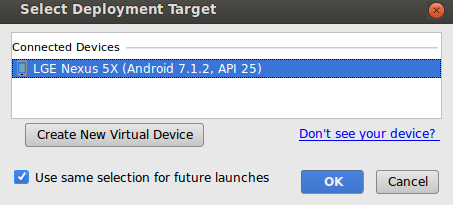
Next you will need to select your device from this popup:
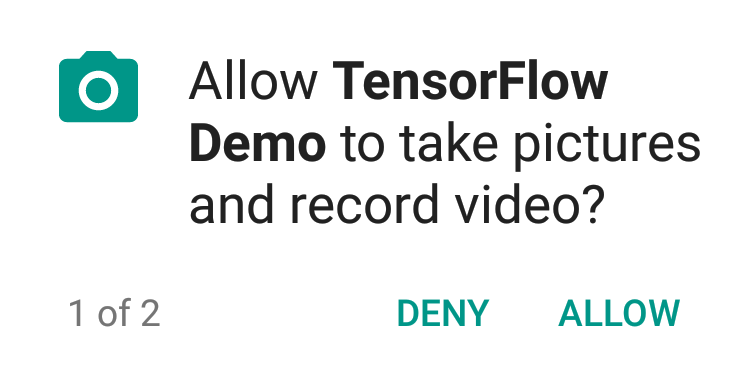
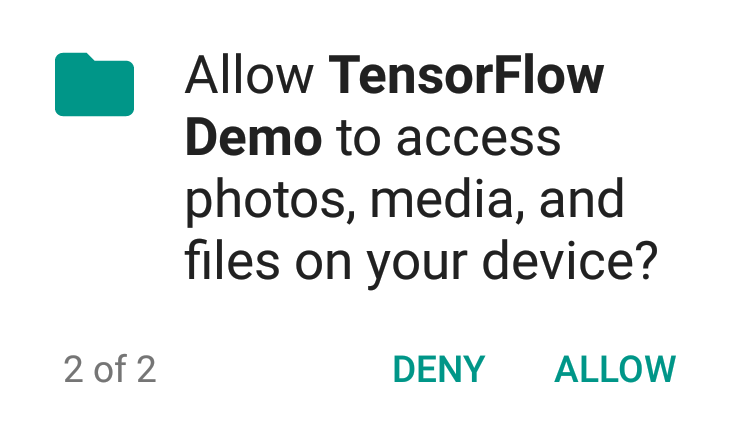
Now allow the Tensorflow Demo to access your camera and files:
|
|
Now that the app is installed, click the app icon, , to launch it. It should look something like this when you point your camera to a sunflower image
License: Free to use
You can hold the power and volume-down buttons together to take a screenshot.
Now try a web search for flowers, point the camera at the computer screen, and see if those pictures are correctly classified.
Or have a friend take a picture of you and find out what kind of TensorFlower you are 

 !
!
TensorFlow Lite supports several hardware accelerators to speed up inference on your mobile device. GPU is one of the accelerators that TensorFlow Lite can leverage through a delegate mechanism and it is fairly easy to use.
- First, open strings.xml which lives in (Android Studio menu path: app -> res -> values -> strings.xml).
examples/lite/codelabs/flower_classification/android/app/src/main/res/values/strings.xml
- Find the following code block.
<string-array name="tfe_ic_devices" translatable="false">
   <item>CPU</item>
   <!-- TODO: Add GPU  -->

</string-array>- Add a "GPU" string to the XML file so that "GPU" shows up in the UI.
<item>GPU</item>- Next go back to Classifier.java.
public abstract class Classifier {
  ...
  /** Optional GPU delegate for acceleration. */
  // TODO: Declare a GPU delegate
  ...
}- Add a field in Classifier class.
private GpuDelegate gpuDelegate = null;- Now we handle the case when our user chooses to use GPU.
protected Classifier(Activity activity, Device device, int numThreads) throws IOException {
  ...
  switch (device) {
    case GPU:
      // TODO: Create a GPU delegate instance and add it to the interpreter options
    ...
 }
}- We add the GPU delegate to the TFLite options so that it can be wired up to the interpreter.
gpuDelegate = new GpuDelegate();
tfliteOptions.addDelegate(gpuDelegate);- Don't forget to close the GPU delegate after use. Find the code block:
public void close() {
  ...
  // TODO: Close the GPU delegate
  ...
}
- Add the code to close the GPU delegate
if (gpuDelegate != null) {
  gpuDelegate.close();
  gpuDelegate = null;
}
That's it. In Android Studio click Run () to start the build and install process as before.
Now in the UI if you swipe up the bottom sheet and choose GPU instead of CPU, you should see a much faster inference speed.
Here are some links for more information:
- Learn more about TFLite from the docs on tensorflow.org and the code repo.
- Try some other TFLite pretrained models including a speech hotword detector and an on-device version of smart-reply.
- Learn more about TensorFlow in general with our getting started docs.